프로젝트 따라하기
프로젝트 따라하기
이번 장에서는 실제로 레일스 프로젝트를 작성해 가면서 레일스 프레임워크의 다양한 기능을 알아보도록 하겠다.
프로젝트명은 Rcafe라고 정하자. 이 프로젝트는 레일스를 이용하여 카페를 구현하는 것이다.
개발환경
- ruby v 2.2.0p0 : 2014년 12월 25일 릴리스됨.
- rails v 4.2.0 : 2014년 12월 20일 릴리스됨.
$ ruby -v
ruby 2.2.0p0 (2014-12-25 revision 49005)

$ rails -v
Rails 4.2.0
소스 코드
로컬 머신에 git이 설치되어 있는 상태에서 아래와 같이 소스를 받을 수 있다.
$ git clone https://github.com/rorlakr/rcafe.git
주요기능
- 회원가입(회원인증 및 권한설정)
- 공지사항/새소식/가입인사 게시판 기능
- 댓글기능
- 태그기능
- 파일 업로드기능
- 관리자기능
- 게시판관리
- 회원관리
프로젝트의 생성
터미널을 열어 아래와 같이 명령을 실행한다.
$ rails new rcafe
       exist
      create  README.rdoc
      create  Rakefile
      create  config.ru
      create  .gitignore
      create  Gemfile
      create  app
      create  app/assets/javascripts/application.js
      create  app/assets/stylesheets/application.css
      create  app/controllers/application_controller.rb
      create  app/helpers/application_helper.rb
      create  app/views/layouts/application.html.erb
      create  app/assets/images/.keep
      create  app/mailers/.keep
      create  app/models/.keep
      create  app/controllers/concerns/.keep
      create  app/models/concerns/.keep
      create  bin
      create  bin/bundle
      create  bin/rails
      create  bin/rake
      create  bin/setup
      create  config
      create  config/routes.rb
      create  config/application.rb
      create  config/environment.rb
      create  config/secrets.yml
      create  config/environments
      create  config/environments/development.rb
      create  config/environments/production.rb
      create  config/environments/test.rb
      create  config/initializers
      create  config/initializers/assets.rb
      create  config/initializers/backtrace_silencers.rb
      create  config/initializers/cookies_serializer.rb
      create  config/initializers/filter_parameter_logging.rb
      create  config/initializers/inflections.rb
      create  config/initializers/mime_types.rb
      create  config/initializers/session_store.rb
      create  config/initializers/wrap_parameters.rb
      create  config/locales
      create  config/locales/en.yml
      create  config/boot.rb
      create  config/database.yml
      create  db
      create  db/seeds.rb
      create  lib
      create  lib/tasks
      create  lib/tasks/.keep
      create  lib/assets
      create  lib/assets/.keep
      create  log
      create  log/.keep
      create  public
      create  public/404.html
      create  public/422.html
      create  public/500.html
      create  public/favicon.ico
      create  public/robots.txt
      create  test/fixtures
      create  test/fixtures/.keep
      create  test/controllers
      create  test/controllers/.keep
      create  test/mailers
      create  test/mailers/.keep
      create  test/models
      create  test/models/.keep
      create  test/helpers
      create  test/helpers/.keep
      create  test/integration
      create  test/integration/.keep
      create  test/test_helper.rb
      create  tmp/cache
      create  tmp/cache/assets
      create  vendor/assets/javascripts
      create  vendor/assets/javascripts/.keep
      create  vendor/assets/stylesheets
      create  vendor/assets/stylesheets/.keep
         run  bundle install
이어서 rails 젬과 관련 의존성 젬들이 설치되고, 특히, 레일스 4.1 버전부터는 어플리케이션 프리로더(preloader)인 spring이 기본적으로 설치되어 커맨드라인 명령어인 rake와 rails 명령의 실행속도를 빠르게 해 주는데, 실행 결과물의 마지막에 아래와 같은 간단한 안내문이 나타난다.
.
.
.
Your bundle is complete!
Use `bundle show [gemname]` to see where a bundled gem is installed.
         run  bundle exec spring binstub --all
* bin/rake: spring inserted
* bin/rails: spring inserted
이제 프로젝트 디렉토리로 이동하여 터미널에서 아래와 같이 로컬 웹서버를 실행한다.
$ cd rcafe
$ bin/rails server
=> Booting WEBrick
=> Rails 4.2.0 application starting in development on http://localhost:3000
=> Run `rails server -h` for more startup options
=> Ctrl-C to shutdown server
[2015-01-30 09:17:57] INFO  WEBrick 1.3.1
[2015-01-30 09:17:57] INFO  ruby 2.2.0 (2014-12-25) [x86_64-darwin14]
[2015-01-30 09:17:57] INFO  WEBrick::HTTPServer#start: pid=98413 port=3000
Booting WEBrick : 레일스 프로젝트를 실행하기 위해 로컬 웹서버(WEBrick)를 부팅한다는 것을 표시한다. WEBrick은 루비 라이브러리로 간단한 HTTP 웹서버 서비스를 제공한다.
starting in development on http://localhost:3000 : 레일스 프로젝트는 3가지 모드에서 실행할 수 있다. 개발모드(development), 운영모드(production), 테스트모드(test). 따라서 현재 개발모드에서 실행되는 프로젝트를 HTTP 프로토콜을 이용하여 localhost의 3000포트에서 시작한다는 것을 의미한다.
rails server -h 와 같이 -h 옵션을 사용하여 서버를 구동하면 여러가지 시작 옵션을 볼 수 있다.
$ bin/rails s -h
Usage: rails server [mongrel, thin, etc] [options]
    -p, --port=port                  Runs Rails on the specified port.
                                     Default: 3000
    -b, --binding=ip                 Binds Rails to the specified ip.
                                     Default: 0.0.0.0
    -c, --config=file                Use custom rackup configuration file
    -d, --daemon                     Make server run as a Daemon.
    -u, --debugger                   Enable the debugger
    -e, --environment=name           Specifies the environment to run this server under (test/development/production).
                                     Default: development
    -P, --pid=pid                    Specifies the PID file.
                                     Default: tmp/pids/server.pid

    -h, --help                       Show this help message.
자주 사용하는 옵션에 대해서 간단히 설명한다.
-p: 레일스 서버를 특정 포트에서 실행할 때 사용한다. 디폴트로는 3000 포트를 사용한다. 로컬에서 하나의 이상의 프로젝트를 실행하고자 할 때 각기 다른 포트를 사용하면 편리하다. 예,-p 4000-b: 로컬호스트 외에 특정 ip로 연결하고자 할 때 사용한다. 예를 들어, 가상머신에서 레일스 서버를 시작하고 호스트 머신에서 브라우저로 접근하고자 할 때 이 옵션에 가상머신의 ip을 지정하여 연결할 수 있다. 예,-b 192.168.56.101-d: 레일스 서버를 데몬으로 실행할 때 사용한다.-e: 서버 실행 환경을 지정할 때 사용한다. 디폴트는development이다. 운영환경에서 실행할 때는-e production과 같이 옵션을 지정하면 된다.
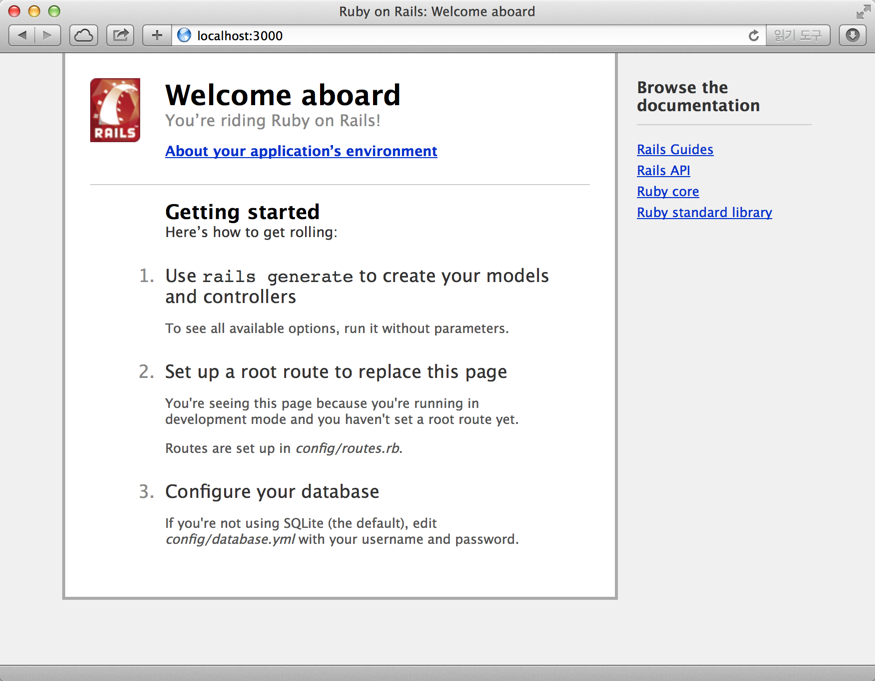
이제 브라우저에서 http://localhost:3000 주소로 확인할 수 있다.
이제 터미널에서 소스관리를 위해 git을 초기화한 후 커밋한다.
$ git init
$ git add .
$ git commit -m "최초 커밋"
이로써, master라는 git branch에 지금까지 작업한 내용이 커밋된 것이다.
지금까지 rcafe라는 레일스 프로젝트를 생성하여 로컬 웹서버를 구동하고 웹브라우저에서 확인하는 작업까지 진행했고, 또한 작업 내용을 git을 초기화한 후 최초 커밋을 하였다.
다음은 rcafe 프로젝트에서 사용할 젬들을 추가하고 설치하도록 하자.
Git소스 https://github.com/rorlakr/rcafe/tree/chapter_05